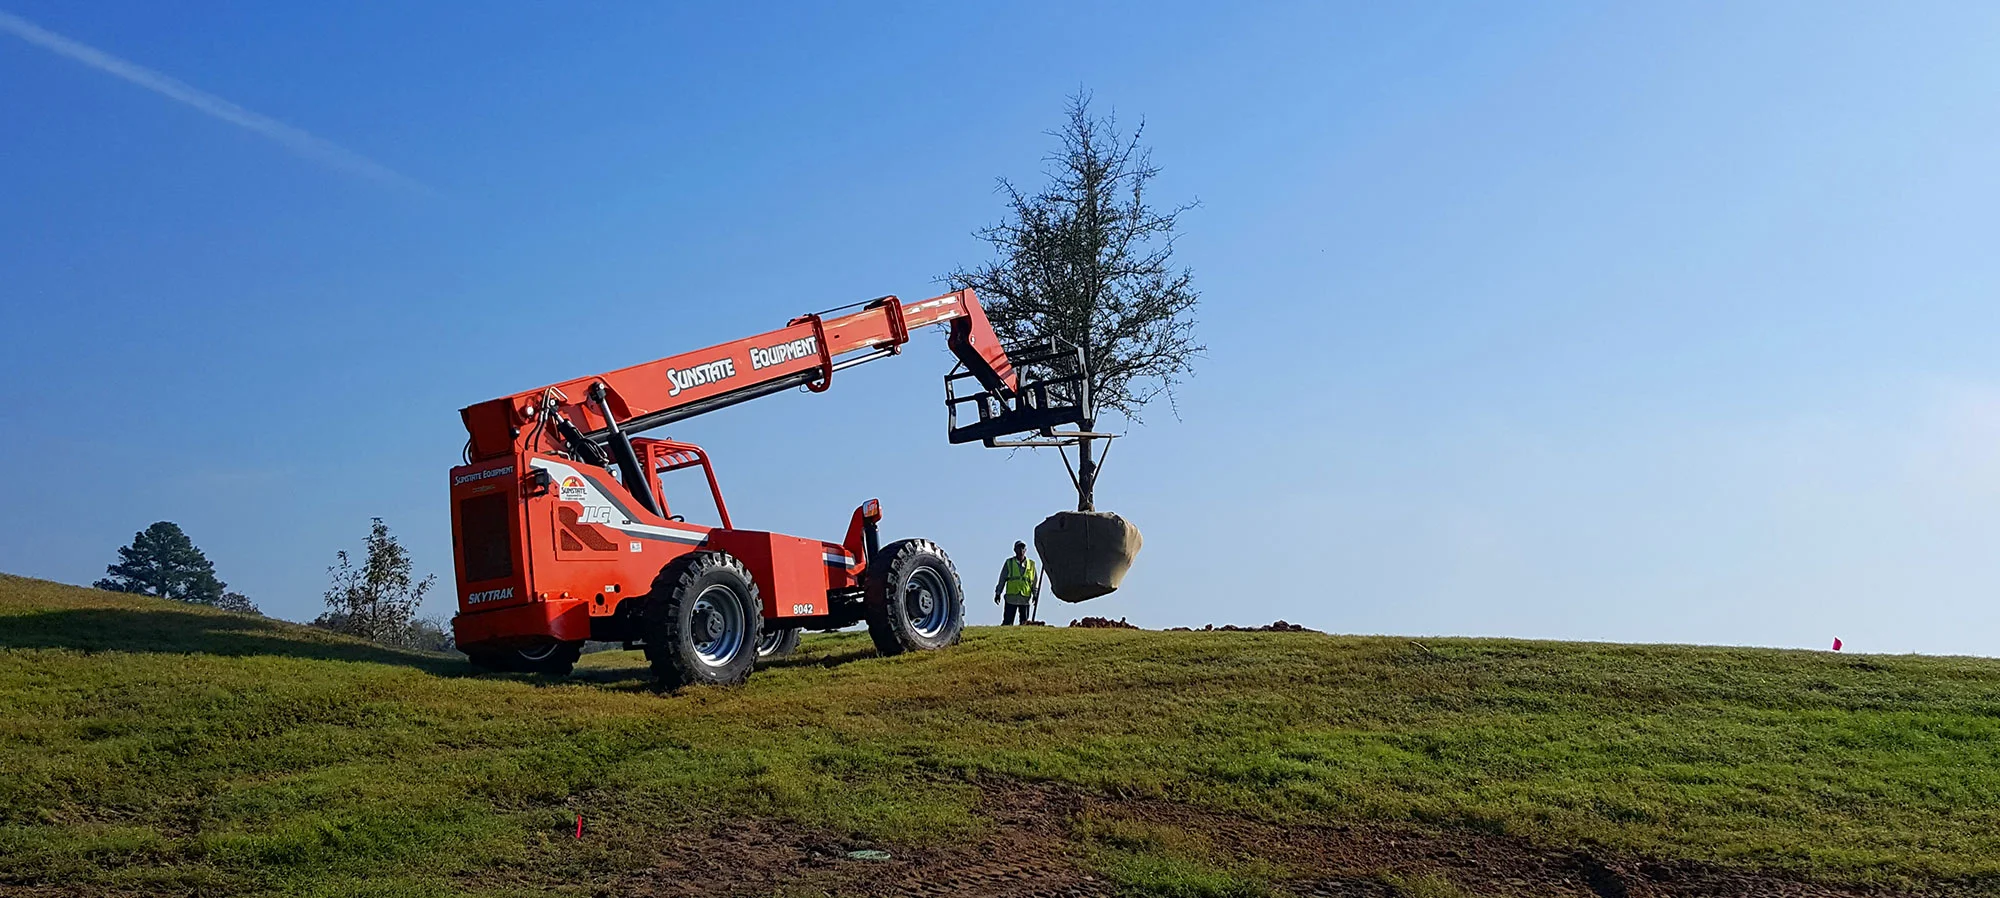
Plant a Tree This Winter For a Green Spring
Winter is one of the best times to plant a tree. Many excellent varieties are available at your local nursery, with some of the best trees available in the winter. Your new tree will use the winter dormant season to establish new roots. When spring arrives, your tree will be on its way to providing shade for generations to come. While it may seem obvious that planting a tree is a good thing, here are some reasons which may not have not occurred to you. Well-placed trees can save you money on your utility bills. In the summer trees shade your roof and windows and also cool the air around your house as they breathe. In the winter, evergreens can block cold north winds. By using less electricity you help cut down on emissions from power plants that contribute to the “green house effect.” Trees of course clean the air by creating oxygen, and they also keep our cities cooler by reducing the “heat island” effect. This is caused by concrete and asphalt storing and reflecting heat, making urban areas hotter.
Choosing a Tree
Ask your nursery professional to recommend a tree that is native or adapted to this area. Don’t ask for the fastest growing tree such as an Arizona ash, cottonwood, Chinese tallow or poplar. Their fast growth results in weak, brittle wood. They are also prone to freeze and insect damage, leaving you with the expense of tree removal just when you expect to be receiving shade. Excellent deciduous trees for this area include Chinese pistache, cedar elm, Drake elm, pecan, Texas ash, and bald cypress. These trees will lose their leaves in the winter and provide access to the winter sun to warm your home. Two of the best choices in this category are the burr and chinquapin oaks. Recommended evergreen selections include live oak, Afghan pine, deodar cedar, and cherry laurel.
Choosing a site
Survey your site and decide the best location for your tree. Choose the variety based on mature size compared to the space you have available. Most planting mistakes are made by placing a tree that will become very large in the wrong place; under a power line or too close to the house, driveway, or walkway. Don’t place the tree near water, gas, cable TV, telephone or sewer lines. In Austin, phone One Call (they’re listed in the Phone book); they will locate and mark all underground utility lines in the digging area. In other locations, call your utility or service supplier. Now dig a test hole. Be sure your location is not one large limestone boulder with a thin layer of soil over it. If you hit a large rock, move over a bit and try again. When you are sure you can dig an adequate hole, then purchase the tree. When you know the size of the hole you can dig, your original plan for a large balled and burlaped tree may change to a five gallon size. The smaller size is easier to plant, less expensive, and may grow more rapidly than the larger tree.
Planting the Tree
Dig your hole three to five times as wide as the container or root ball. The hole should be no deeper than the container. If you disturb the native soil below the root ball, the tree may settle and sink too low. The sides of the hole should not be smooth. Dig an ugly, ragged hole or even a square hole. Use a pick or shovel to break up the vertical soil surface. This gives the roots a chance to grow into the native soil. Carefully remove the tree from its container and place it in the hole. Large trees may require the aid of several helpers to avoid damaging the roots. If the roots have begun to circle inside the container, straighten them out from the root ball as you refill the hole. Most times a newly planted tree will stand on its own. If necessary, drive a sturdy stake at the edge of the root ball. Use an old nylon stocking to loop a loose figure eight around the tree and the stake. Fill the hole with the removed soil, not peat moss, compost, or bagged soil. It’s best to get the tree immediately accustomed to the soil in which it will be growing. Otherwise the roots tend to stay in the amended soil and never grow into the surrounding native soil. As you fill, compress the soil with your foot several times to prevent air pockets. Use the extra soil to build a dam around the edge of the hole. Water thoroughly and deeply. A liquid root stimulator may be used, but is usually not necessary. Cover the area inside the dam with 3-4 inches of organic mulch. In the absence of rain, a good soaking every two weeks is sufficient during the winter.
This article first appeared in the Austin American Statesman. At the time of publication, Dick Peterson was City of Austin Xeriscape Coordinator.

